Accompanying the release of SiteKiosk Android 2.0 this blog post will show you how you can customize a Browser Design. This way you can make your SiteKiosk Android stand out from the rest, e.g. by creating a browser skin in your corporate design.
The following steps can be performed directly on a tablet, but I would suggest doing it on a PC to ease the editing process. First you need to download the Android installer package for SiteKiosk Android from our website: http://www.provisio.com/download/SiteKiosk.apk.
The installer package is basically a zipped archive, therefore the next step is to unzip the archive, using your favorite tool for that (e.g. Winzip, Winrar, 7zip, etc.).
In the unzipped archive you will find numerous files and folders. The ones we are interested in are all in the folder named assets. The folders required for our customization are apps, common (if available), external, provisio and siteKiosk.
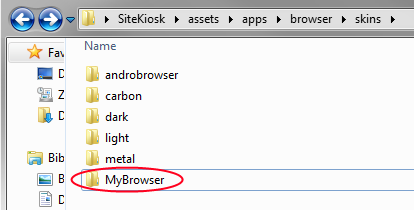
For our experiment we concentrate on changing the look of the browser. We therefore change a few subfolders deep in the apps folder. In ..\assets\apps\browser\skins we find all the browser designs (or skins) that are included in the SiteKiosk Android installer. To start creating our own design we make a copy of the folder named metal and rename the copy to MyBrowser (of course you can choose any name you like, but if you do, keep that in mind for the upcoming changes).
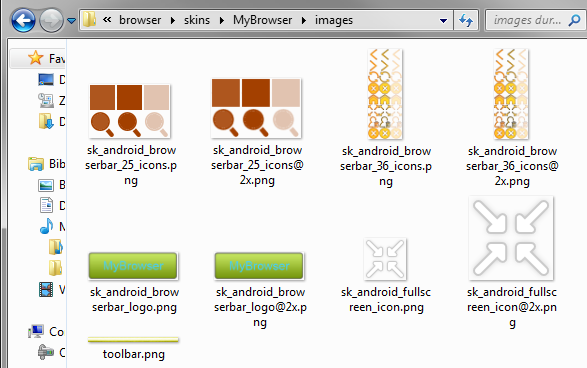
Now we step into the MyBrowser folder. In it, we will find the images subfolder. In that subfolder are a number of png files which make up the design of a browser skin. You will notice that all but the toolbar.png file are available in two sizes. This is to cater for different pixel sizes of Android devices. You are free to change the logos and icons to your liking. Just make sure to keep the original image sizes and the placement of icons, so for example do not put the refresh icon in the place that the home icon is currently using otherwise you would mix up the functions of your browser skin. The one image file that is only available in one size is the background of the browser tool bar, again you are free to change this to whatever you like, but please keep the size. The next screen shows my colorful (and possibly eye-hurting) design attempt that will be used to illustrate our little tutorial.
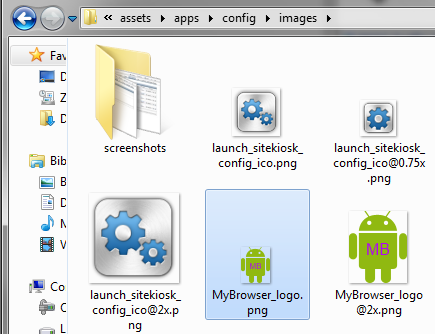
Next we create a logo icon for our browser to show in the configuration when we select the browser design. Go to the ..\assets\apps\config\images folder and create two png files for the icon, e.g. MyBrowser_logo.png and MyBrowser_logo2x.png. Again two version to cater for different pixel sizes. You may use the two sk_android_logo files as a base for your own creation.
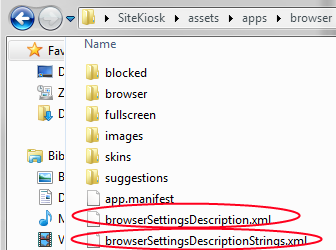
Now that we are done with the actual design, we have to edit six files to make our browser design show up the way we want. In the folder ..\assets\apps\browser are two files named browserSettingsDescription.xml and browserSettingsDescriptionStrings.xml. Both have to be opened with an editor, e.g. Notepad, Notepad++, etc.
In the file browserSettingsDescription.xml add a new Option tag. Look for the Option tag with the name metal and add the new entry after that:
        <Option name="Metal" title="$Browser/BrowserSkins/Metal.Title" iconName="application-icons" iconIndex="34"></Option>
	<Option name="MyBrowser" title="$Browser/BrowserSkins/MyBrowser.Title" iconName="MyBrowser-icon" iconIndex="1"></Option>
</PreferenceSettings>
The referenced iconName will be created later. The iconIndex can be 1 as our own logo picture is not part of a single file with more than one logo.
Next is the file browserSettingsDescriptionStrings.xml. We have to add the title for our browser design, so there is a caption next to the logo in the SiteKiosk configuration. Open the file in an editor and search for Metal.Title. You will find 5 matches. Add a new line after each of the matches with your own browser title.
<String Id='Browser/BrowserSkins/Metal.Title'>Metal</String>
<String Id='Browser/BrowserSkins/MyBrowser.Title'>MyBrowser</String>
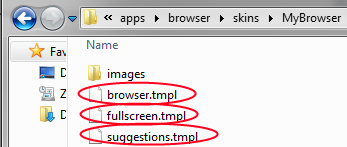
Let's step into a new folder. This time it is ..\assets\apps\browser\skins\MyBrowser. You will see three .tmpl files in there. Open all of them with an Editor and change all occurrances of the word metal into MyBrowser.
On to the last file that has to be changed. It is the file icon.js in the folder ..\assets\apps\config\widgets. After you have opened it, a few addImageMap entries have to be added. Look for metal-fullscreen-icon and after that line we add our image maps.
addImageMap({ name: "metal-fullscreen-icon", src: "../skins/metal/images/sk_android_fullscreen_icon.png", width: 42, height: 42 });

addImageMap({ name: "MyBrowser-icon", src: "images/MyBrowser_logo.png", width: 29, height: 36 });
addImageMap({ name: "MyBrowser-browserbar-36-icons", src: "../skins/MyBrowser/images/sk_android_browserbar_36_icons.png", width: 38, height: 38, padding: 0, states: 3, icons: 8 });
addImageMap({ name: "MyBrowser-browserbar-25-icons", src: "../skins/MyBrowser/images/sk_android_browserbar_25_icons.png", width: 27, height: 27, padding: 0, states: 3, icons: 2 });
addImageMap({ name: "MyBrowser-browserbar-logo", src: "../skins/MyBrowser/images/sk_android_browserbar_logo.png", width: 119, height: 37 });
addImageMap({ name: "MyBrowser-fullscreen-icon", src: "../skins/MyBrowser/images/sk_android_fullscreen_icon.png", width: 42, height: 42 });
We are done with our browser design. The next step is to copy the files over to the right location on the Android tablet. Attach the tablet to the PC, usually using a USB cable. Locate the SiteKiosk folder on the tablet. You can find it under [externalStorageDir]/SiteKiosk which usually translates into /mnt/sdcard/SiteKiosk. Using the USB connection from the PC the path is something like ..\Internal Storage\SiteKiosk. Copy all the four subfolders from the assets folder described above into the SiteKiosk folder on the tablet.
/mnt/sdcard/SiteKiosk/apps
/mnt/sdcard/SiteKiosk/common (if available)
/mnt/sdcard/SiteKiosk/external
/mnt/sdcard/SiteKiosk/provisio
/mnt/sdcard/SiteKiosk/siteKiosk
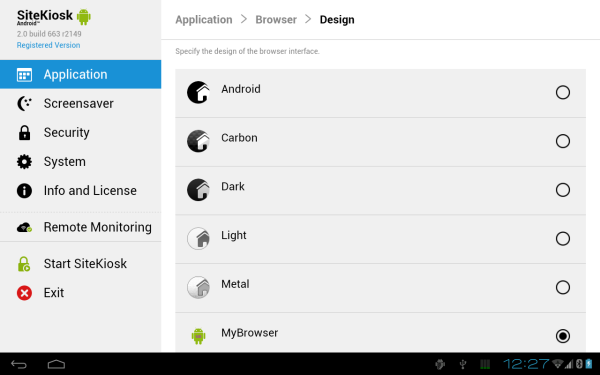
Start SiteKiosk and open the configuration. If you are using SiteKiosk 2.6 or higher, go to Security and select the option to allow custom SiteKiosk applications. Go to Application > Browser > Design. You should see the newly added MyBrowser design there. Select it.
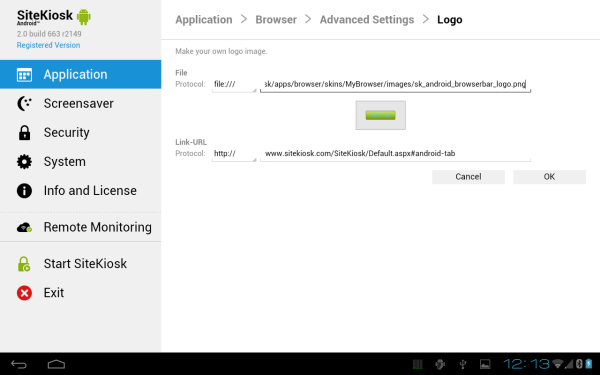
Go to Application > Browser > Advanced Settings > Logo and select your logo design there. The path usually would be something like mnt/sdcard/SiteKiosk/apps/browser/skins/MyBrowser/images/sk_android_browserbar_logo.png.
Finally select Start SiteKiosk from the treeview on the left and have a look at your design in the SiteKiosk Android browser.
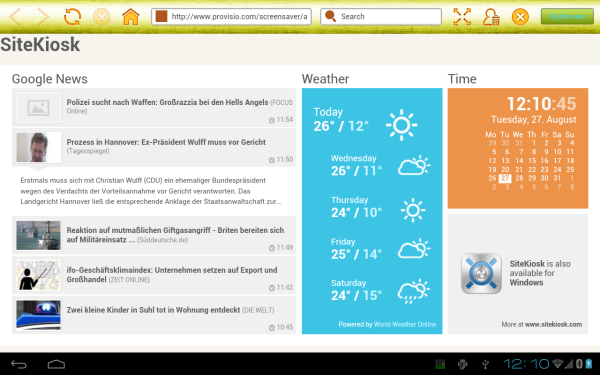
Please remember we kept things pretty basic for this small tutorial, as this was about showing you the places that need to be edited to have your own SiteKiosk Android browser design and not giving lessons in design. Using your own icon, background and color design you can have a completely unique look.