In the case you want to create buttons like back, forward, reload or navigate to control a webview in SiteCaster (since version 1.5), you need to start the expert mode.

Open the project in the SiteCaster editor. In the URL address field of your browser you must add &expert at the end of the URL and then press Enter to reload the project.
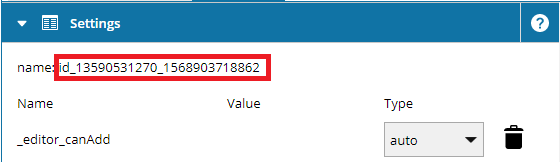
After activation of the expert mode you see the Expert Edit button in the tool bar. Create a webpage element on your project page, select it and press the Expert Edit button. In the settings you need to copy the element id under name (e.g. id_13590531270_1568903718862) for the next step.
Example: Navigate button
Now add an image element (note that this will work with most other standard elements as well) on your project page, select the image and press the Expert Edit button. You can resize the inspector on the right via drag and drop to access the following lines easier.
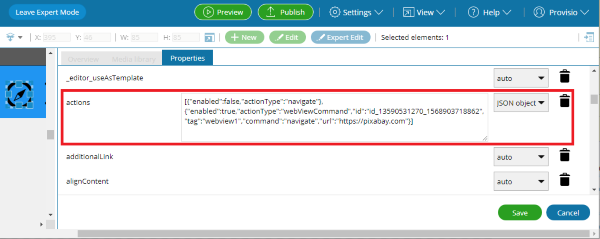
Go to actions and select JSON object in the drop down menu. Then add following entry with the webview id behind the existing one:
{"enabled":true,"actionType":"webViewCommand","id":"id_13590531270_1568903718862","tag":"web","command":"back","url":"https://www.provisio.com"}
As a result you have following entry in the editbox:
[{"enabled":false,"actionType":"navigate"},{"enabled":true,"actionType":"webViewCommand","id":"id_13590531270_1568903718862","tag":"web","command":"navigate","url":"https://www.provisio.com"}]
In the same way you can use following values:
id (ID of the WebView that is to be navigated)
tag (tag of the WebViews that is to be navigated)
command: "back, "forward," "home," "reload," "navigate")
url (URL to navigate to)
Don’t edit or delete the first entry in the array, as it has to stay in there. Now close the settings dialog with pressing Save button. You can exit the expert mode with pressing the button “Leave expert mode” .
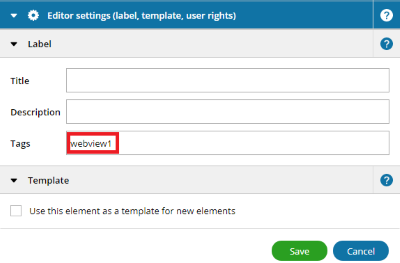
To target the webview you can enter the webpage id or a tag. With a tag you can also control several different webviews in the same time with one button. For using a tag you simply activate the expert mode. Double click on the webview element to open the settings dialog and enter the tag name under tags in the section Editor settings. If you want to use several tags for one webview they have to be separated with a comma.
You can use the button example images on the bottom to build your buttons. The CC0 Image source is https://pixabay.com