The File Manager of SiteRemote is also accessible via WebDAV. Usually you just need to download a JavaScript from the SiteRemote File Manager web page and then execute the script locally to map the file manager folder of your SiteRemote Team as a WebDav Network Drive into the Windows Explorer.
But if for any reason it is not possible to use the JavaScript option you can proceed as follows to manually map the file manager folder of SiteRemote in your Windows Explorer.
Please note: One reason you need to manually map the file manager folder is when you installed your SiteRemote server into a virtual directory of a web page. In that case the Javascript file you can download from the File Manager web page of your SiteRemote team cannot create the WebDAV mapping for you.
The following example demonstrates the manual mapping procedure under Windows 8, it is very similar on other Windows operating systems:
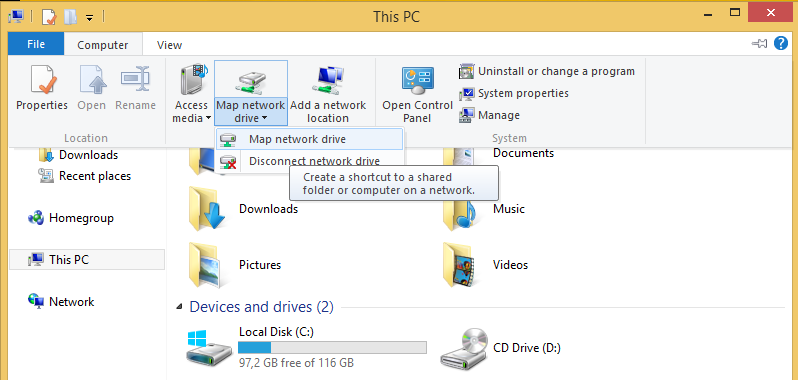
1. Open the Windows Explorer and press the button “Map network drive”.
2. Choose a drive letter that is not in use and add https://www.siteremote.net/TeamRoot (replace www.siteremote.net with the URL of any other SiteRemote server if you are not using the service provided by PROVISIO) to the input field “Folder”. Enable the checkbox “Connect using different credentials”.
If you want that the folder also will be reconnected after a Windows Reboot you can activate the checkbox “Reconnect at logon”.

3. After pressing the “Finish” button you will be prompted for a login.
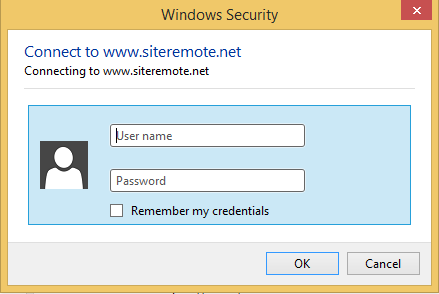
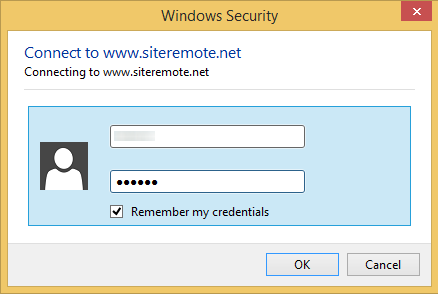
4. Then you need to enter the user name and password of your SiteRemote user.
Optionally enable the checkbox “Remember my credentials” (e.g. if you also enabled “Reconnect at logon” before).
5. Finally the folder will be accessible through the Windows Explorer and you can use it like any other (Network) drive.
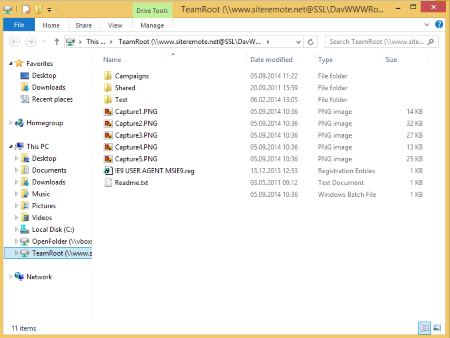
In case you want to disconnect the folder just right click on it in the Windows Explorer and choose “Disconnect” from the context menu.
59b19e93-1231-4604-b5c2-dd93157f4905|2|3.0